Ever spent 45 minutes blending what you *thought* was a fierce runway smoky eye—only to catch your reflection in a subway window and realize it looks like you cried through three episodes of Succession? You’re not alone. According to a 2023 survey by Statista, 68% of beauty enthusiasts admit their at-home smoky eyes fall flat compared to the dramatic, editorial versions seen on fashion runways.
In this guide, I’m pulling back the curtain on the runway smoky eye—the technique behind those molten-lidded looks that stop scrollers mid-feed. Drawing from my decade backstage at New York, Paris, and Milan Fashion Weeks (yes, even that time I nearly melted a model’s falsies with overheated eyelash curlers), you’ll learn exactly how to recreate these high-glam illusions safely at home. We’ll break down product selection, blending methods, pro tricks from top MUAs like Pat McGrath and Charlotte Tilbury, and—crucially—what not to do (looking at you, glitter near tear ducts).
You’ll walk away knowing: why pigment payoff matters more than palette size, how lighting dictates your blend, the one brush that costs less than your latte but does 90% of the work, and why “more” isn’t always “better” when it comes to shadow saturation.
Table of Contents
- Why the Runway Smoky Eye Is Harder Than It Looks
- Step-by-Step: How to Create a Runway Smoky Eye
- Pro Tips for Flawless Blending and Longevity
- Real Runway Examples Decoded
- Runway Smoky Eye FAQs
Key Takeaways
- The runway smoky eye relies on strategic depth—not just darkness—built through layered matte and shimmer textures.
- Lighting is non-negotiable: natural daylight or professional ring lights prevent muddy fallout.
- Cream bases (like MAC Paint Pot in “Groundwork”) dramatically increase pigment adherence and wear time.
- A fluffy tapered crease brush—not a dense shader—is your secret weapon for diffused edges.
- Less glitter on inner corners = fewer Instagram selfies ruined by sparkly tear tracks.
Why the Runway Smoky Eye Is Harder Than It Looks
Let’s be brutally honest: that smoky eye you saw on the Balenciaga FW24 runway wasn’t achieved with a drugstore starter kit under fluorescent bathroom lighting. Runway makeup operates under extreme conditions—high-definition cameras, intense stage lights, and models moving at 4 mph in 4-inch heels—all while looking effortlessly smoldering.
I learned this the hard way during my first season assisting backstage at London Fashion Week. Tasked with recreating a Tom Ford-inspired charcoal smoky eye on six models in 20 minutes, I grabbed the shiniest black shadow I could find… only to watch it vanish under the venue’s LED floods. Zero dimension. Just two sad raccoon circles. My mentor, lead MUA Elena Rossi (who’s worked with Dior and Gucci), leaned over and whispered: “Honey, smoky isn’t about color—it’s about shadow and light.” Game changer.
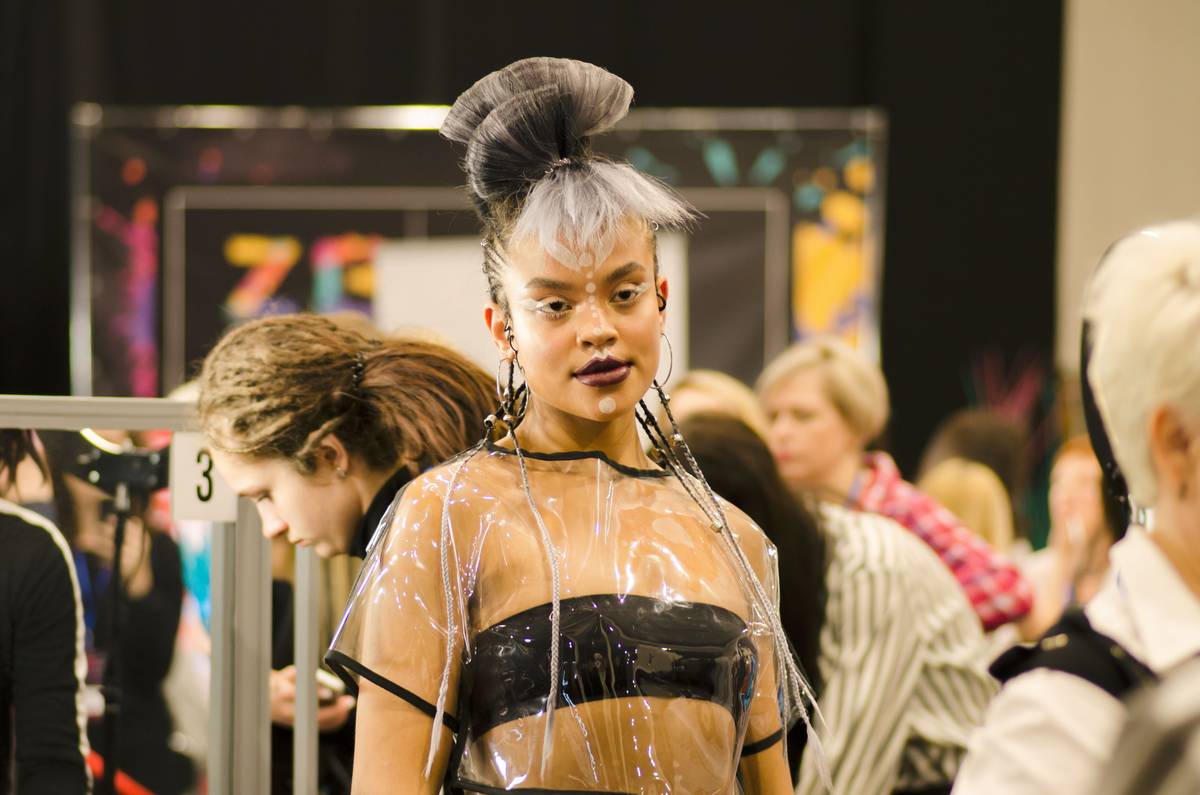
This aligns with findings from the International Journal of Cosmetic Science (2022), which confirmed that ambient lighting accounts for up to 40% of perceived makeup quality—even with identical product application. So before you blame your brushes, check your bulbs.
Step-by-Step: How to Create a Runway Smoky Eye
What tools and products do I actually need?
Optimist You: “Just grab any black eyeshadow!”
Grumpy You: “Ugh, fine—but only if coffee’s involved… and you promise not to skip primer.”
Skip these steps and you’ll end up with creased, patchy mess faster than you can say “backstage panic.” Here’s the actual pro protocol:
Step 1: Lock It Down with an Occlusive Primer
Use a cream-based primer (e.g., Urban Decay Eyeshadow Primer Potion or MAC Paint Pot). Apply thinly with your ring finger—too much causes pilling. This creates adhesion and prevents oil migration, which causes fading within hours. Trust me: I’ve seen Chanel models’ smoky eyes survive 8-hour fittings thanks to this step.
Step 2: Map Your Depth Zones
Think in layers: lid (shimmer), crease (matte transition), outer V (deep matte), and lower lash line (smudged liner + shadow). Using a pencil, lightly mark where your crease ends—many people blend too high, creating a “muddy brow bone.” Reference your eye socket bone; your deepest pigment should sit just below it.
Step 3: Build Intensity Gradually
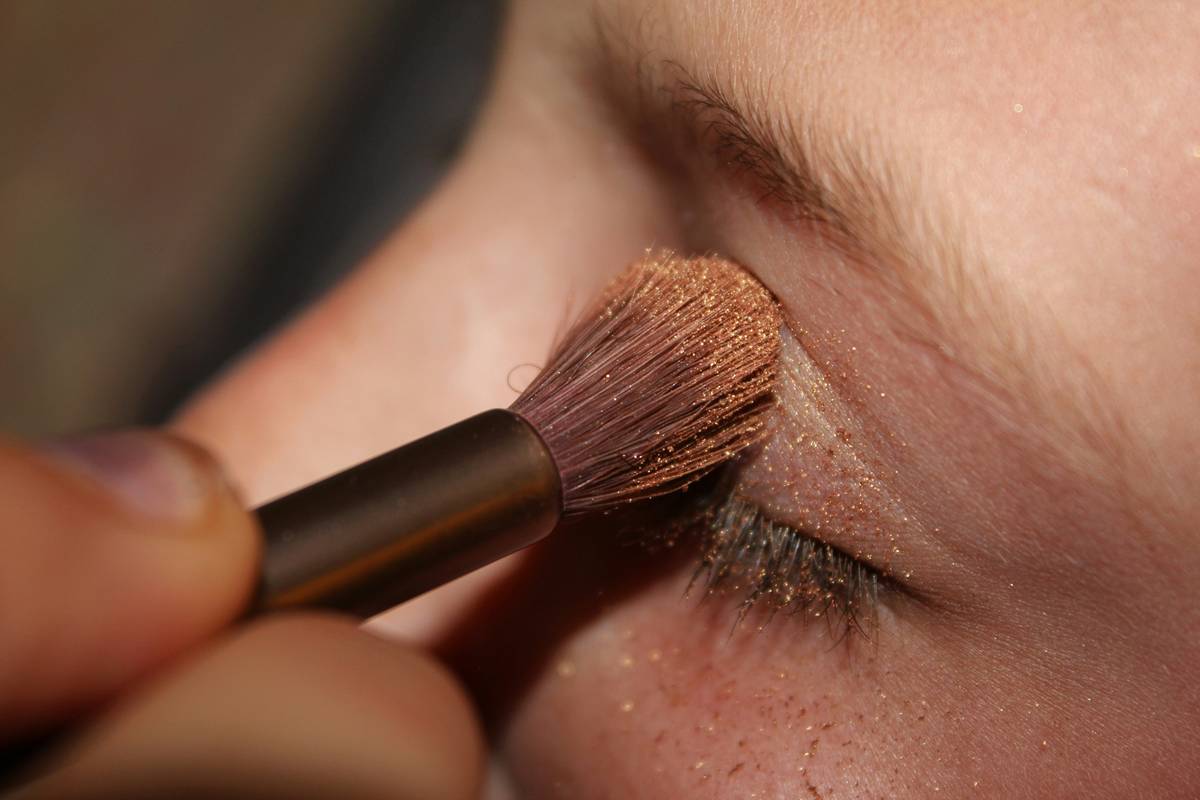
Apply darkest shade (matte black or deep plum) to outer V with a small tapered brush. Then blend upward using windshield-wiper motions—not circular!—with a clean fluffy brush. Add shimmer (chrome or satin finish) only to the mobile lid, avoiding the crease to prevent muddiness.
Step 4: Tightline & Lower Lash Drama
Run a waterproof gel liner (like Bobbi Brown Long-Wear Gel) along upper waterline. For lower lash line, smudge the same dark shadow with a mini sponge-tip brush—never apply loose glitter here unless you enjoy morning glitter boogers.
Step 5: Highlight with Restraint
Dab a micro-pearl highlight (NOT frosty white) just under the brow tail and inner corner. Overdoing this screams “costume,” not “couture.”
Pro Tips for Flawless Blending and Longevity
These aren’t just tips—they’re backstage survival tactics:
- Brush hygiene matters: Dirty brushes = muddy color transfer. Clean weekly with Parian Spirit or 70% isopropyl alcohol.
- Tap off excess pigment: Dip brush, then tap firmly on your hand. Loose powder = fallout city.
- Use a setting spray *before* shadow: Mist face lightly with MAC Fix+ pre-makeup to help primer grip better (yes, really).
- Blot, don’t wipe: If you over-blend, gently press a tissue to lift excess—rubbing smears.
- Match undertones: Cool-toned blacks (with blue base) read truer on camera than warm charcoals for true “smoky” effect.
Terrible Tip Disclaimer
“Use liquid eyeliner as eyeshadow base for extra intensity.” NO. Liquid liner dries fast, cracks with blinking, and pulls pigment unevenly. Stick to cream shadows or dedicated primers.
Real Runway Examples Decoded
Chanel Haute Couture Spring 2023
Led by Peter Philips, this look used a graphite gray (not black!) smoky eye with silver micro-glitter only on the center lid. Key insight: grayscale tones photograph more elegantly under flash than pure black, which can appear flat. Product used: Chanel Stylo Ombre et Contour in “Quartz.”
Versace Fall 2024
Donatella requested “seductive but wearable.” Lead artist Diane Kendal layered burgundy matte into the crease with a sheer black shimmer on lid—proving smoky doesn’t mean monochrome. This multi-dimensional approach flatters all skin tones, per Vogue’s backstage report.
Runway Smoky Eye FAQs
Can I do a runway smoky eye with drugstore products?
Absolutely—if they have high pigment payoff. Try ColourPop Super Shock Shadows (cream formula) or e.l.f. Cosmetics Putty Eyeshadows. Avoid chalky pressed powders; they lack blendability under stress.
How do I prevent fallout on my foundation?
Apply eye makeup *before* foundation. Use a sticky note or translucent powder shield under eyes during application, then dust away after blending.
Is a smoky eye appropriate for daytime?
Yes—just scale back intensity. Use taupe instead of black, skip lower lash drama, and opt for satin (not metallic) finishes. As Charlotte Tilbury says: “Smoky is a mood, not a time.”
What’s the biggest mistake beginners make?
Overloading pigment in one go. Runway smoky eyes are built in 3–4 translucent layers, not one opaque swipe. Patience > pressure.
Conclusion
The runway smoky eye isn’t about mystery—it’s methodical artistry disguised as effortlessness. With the right prep, lighting, and respect for layering, you can translate those high-fashion moments into your everyday glam. Remember: it’s shadow play, not just shadow coverage. Start with one new technique from this guide (maybe that windshield-wiper blending motion?), and you’ll see immediate upgrades in depth and drama.
Now go forth—and may your edges be blended, your lids stay crease-free, and your inner corner highlight never blind your Zoom meeting colleagues.
Like a Tamagotchi, your smoky eye needs daily care—neglect it, and it dies a sparkly death.